
“Is it done yet?” my buddy Brandon asked, trying to keep a low voice so not to wake our tent mates sleeping nearby. I look at my watch. 3:30 AM.
“Man I hope this is worth it”, I yawned as I held the tripod steady with the camera pointed straight up at the west Texas sky.
We heard a quiet click from the camera as a faint glow from the LCD screen illuminated the dirt below. Together we leaned over and craned our necks to look up at the image. As if on queue the excitement overwhelmed our language filters as the expletive spilled from our mouths. “Holy s**t.”

The image Brandon and I were gawking over. Big Bend National Park, Texas. 15”, f/1.8, ISO 2000
The feeling you get that first time you nail that star photo sure is hard to beat. Whether you are a seasoned photographer or a total beginner, today I hope to share some tips and tricks with you to make the world of astrophotography more accessible to everyone and (hopefully) a little less daunting.
Why TAKE PHOTOS AT NIGHT?
Nighttime photography can be one of the most challenging parts of the art, but with a few tricks and some patience it is easily one of the most rewarding. We so often see photography as a way of recreating a scene exactly as we would see it with our own eyes, but we sometimes forget that photographing what we can’t see can be just as if not more intriguing. Nighttime photography helps to solve an issue that faces both amateur and professional photographers alike: it can add an interesting twist to an otherwise monotonous scene in a way that most of us don’t get to see regularly.
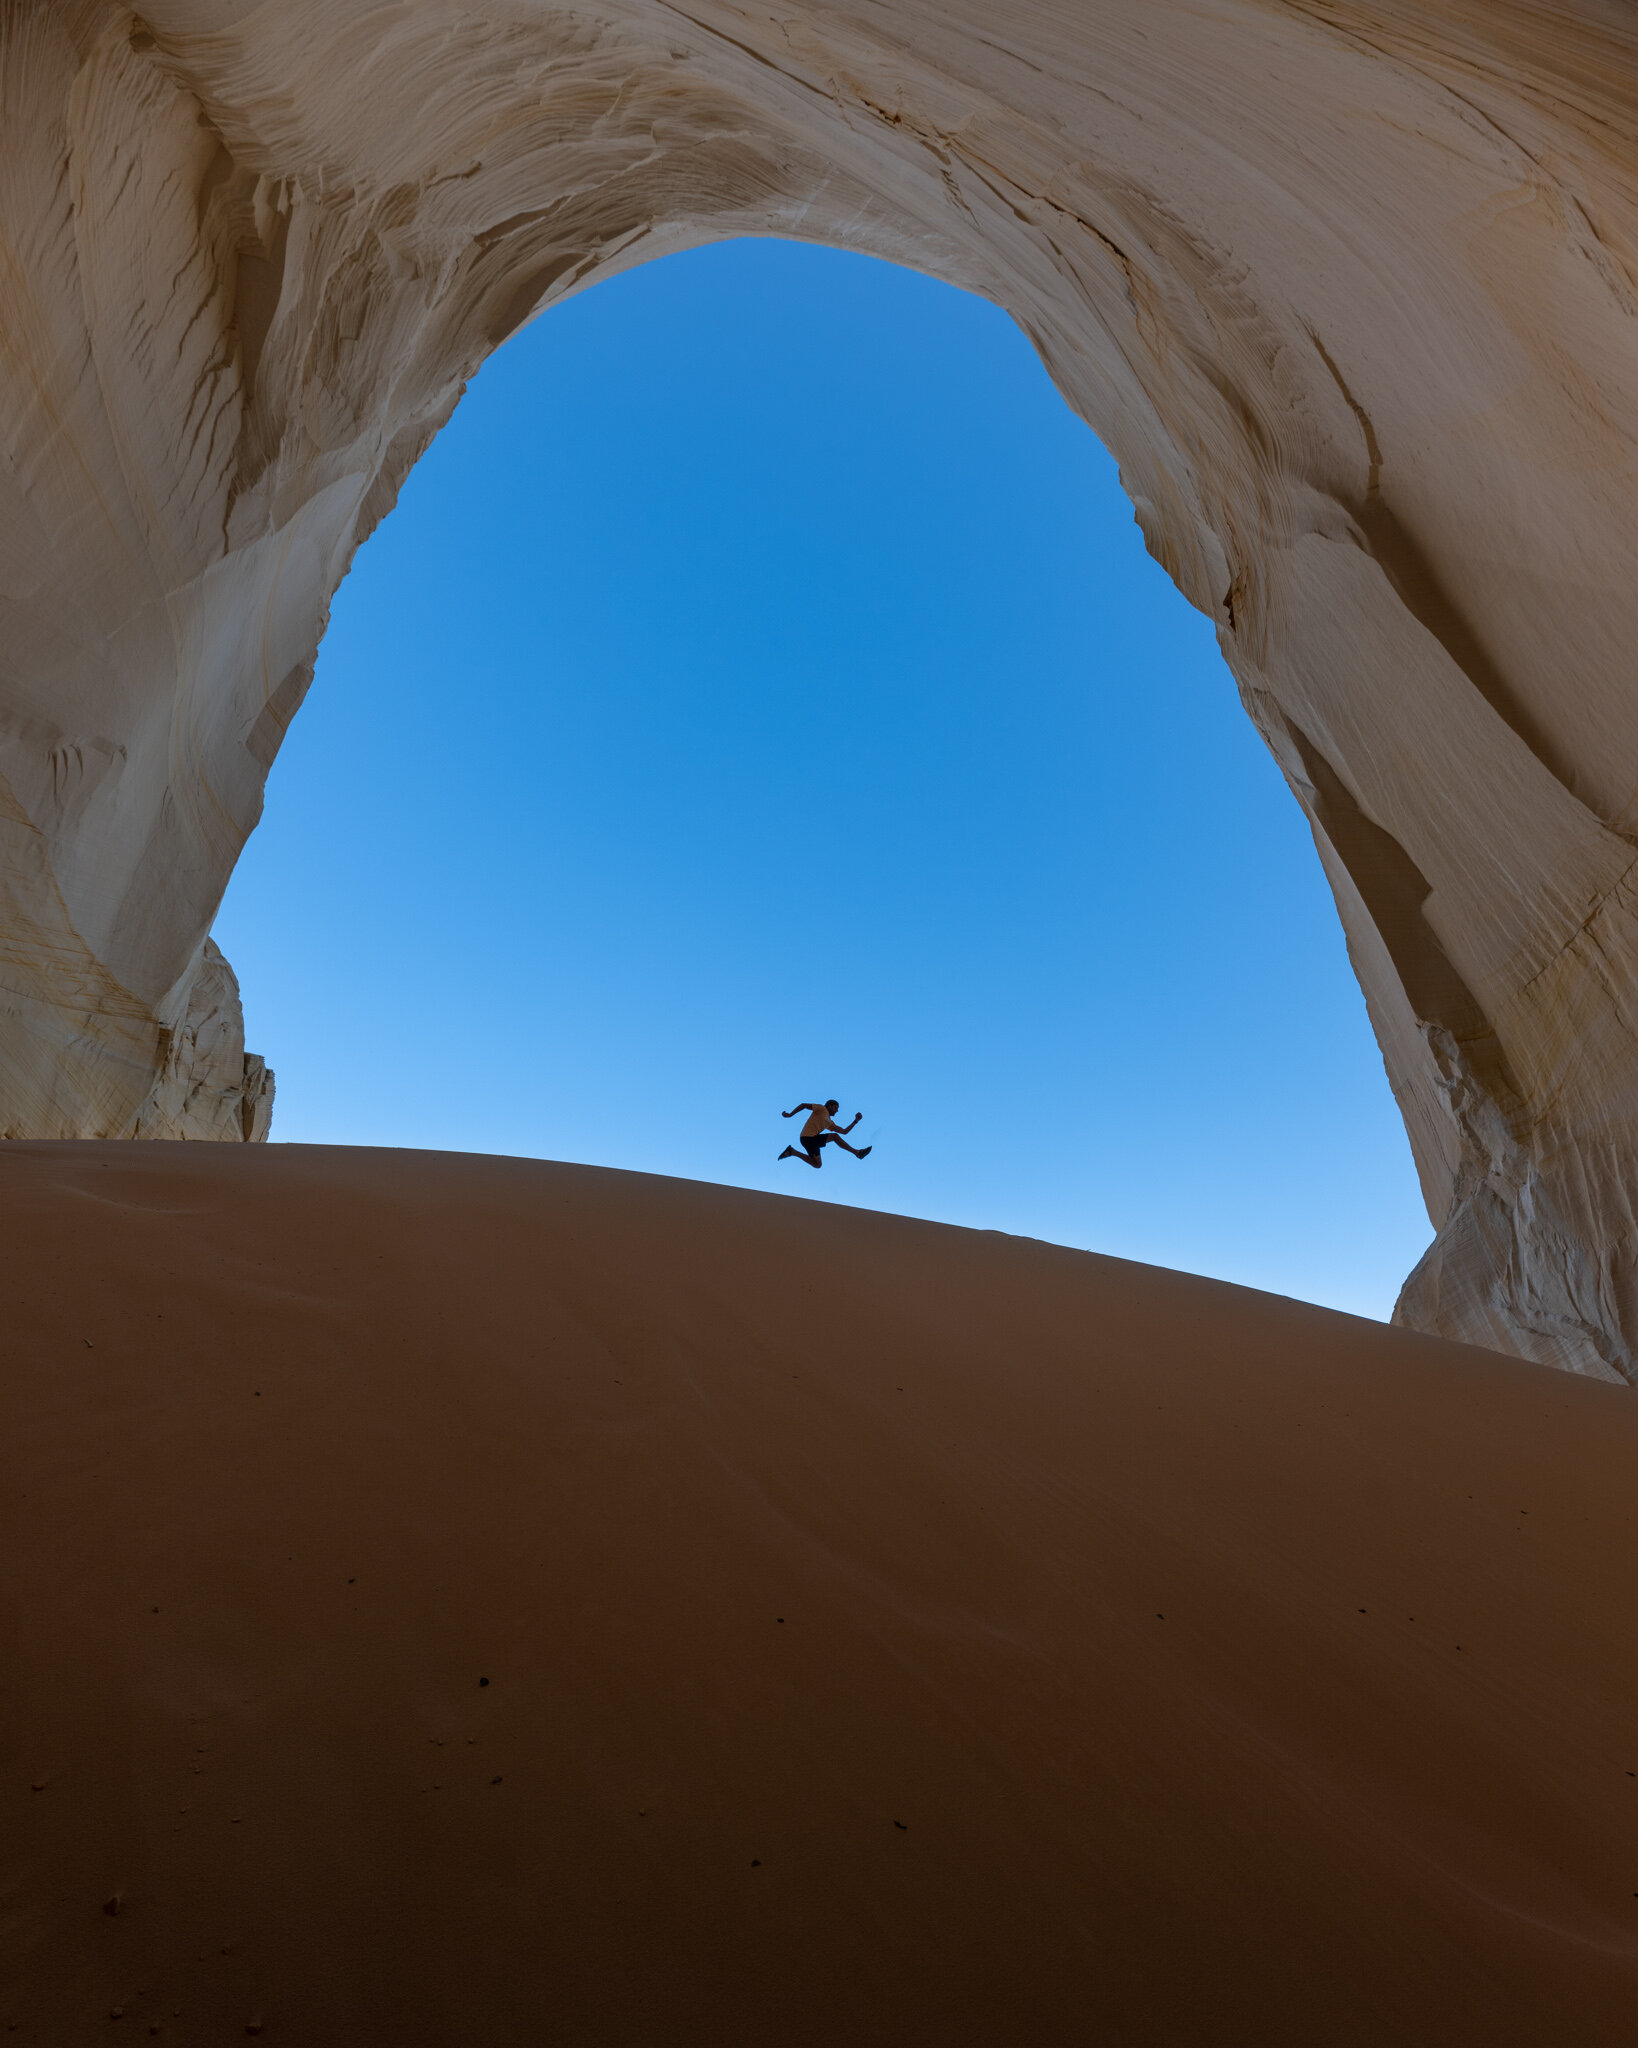
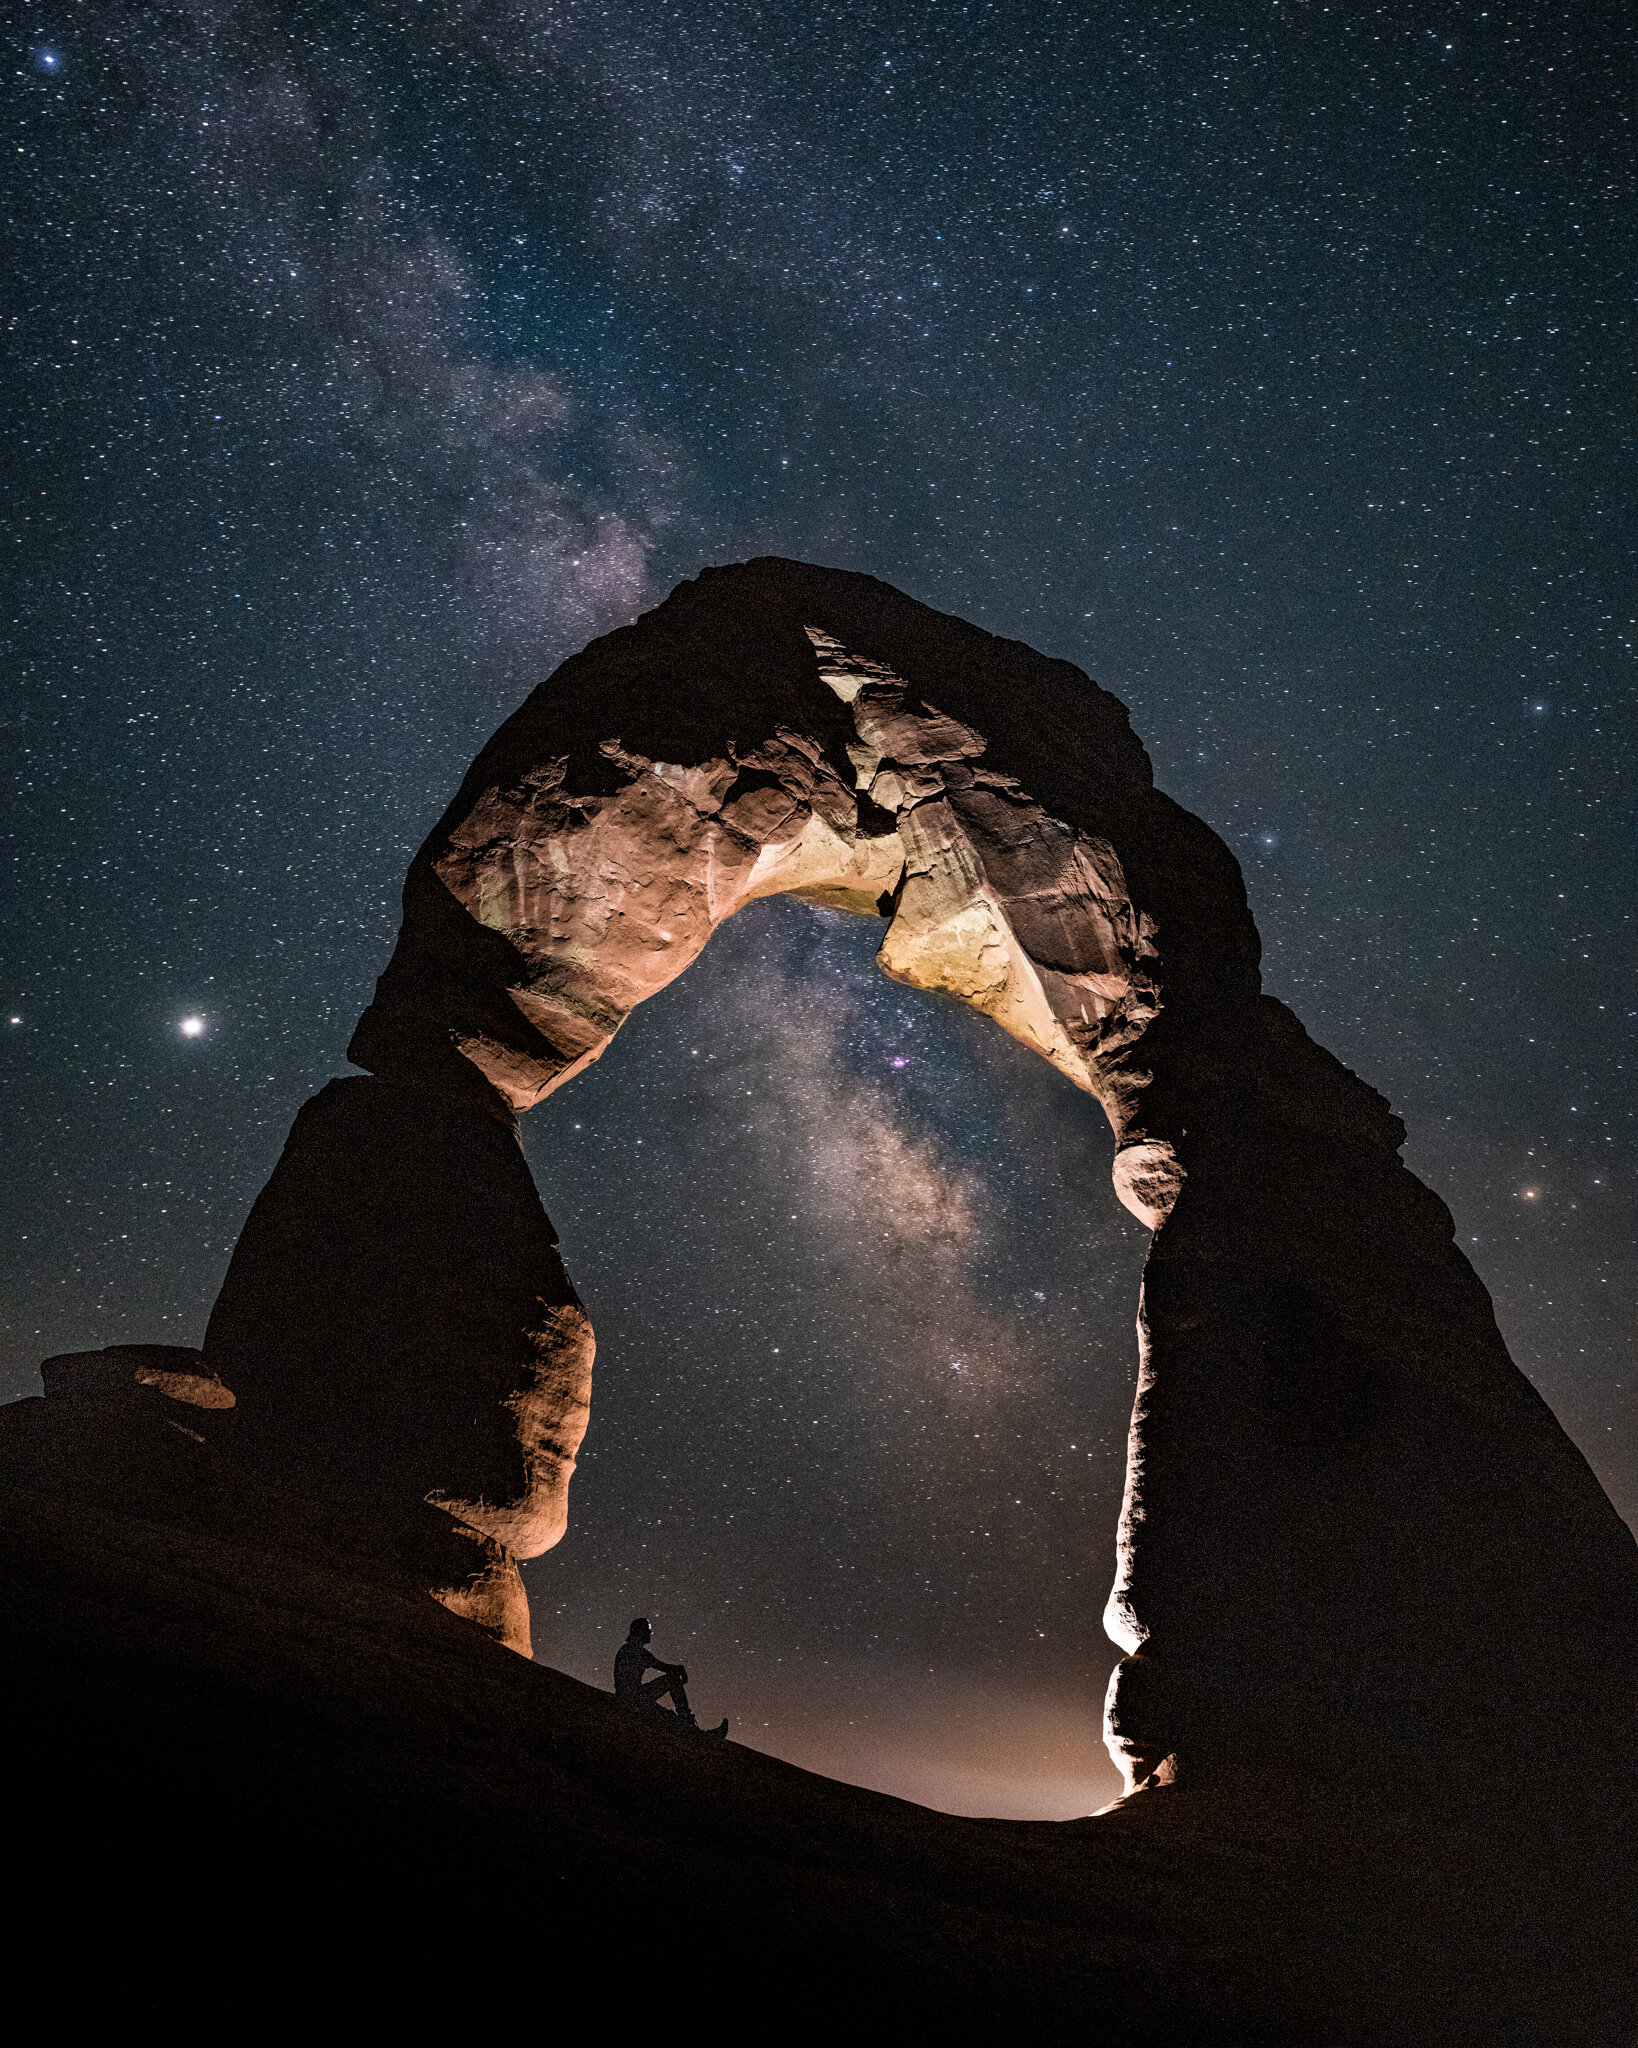
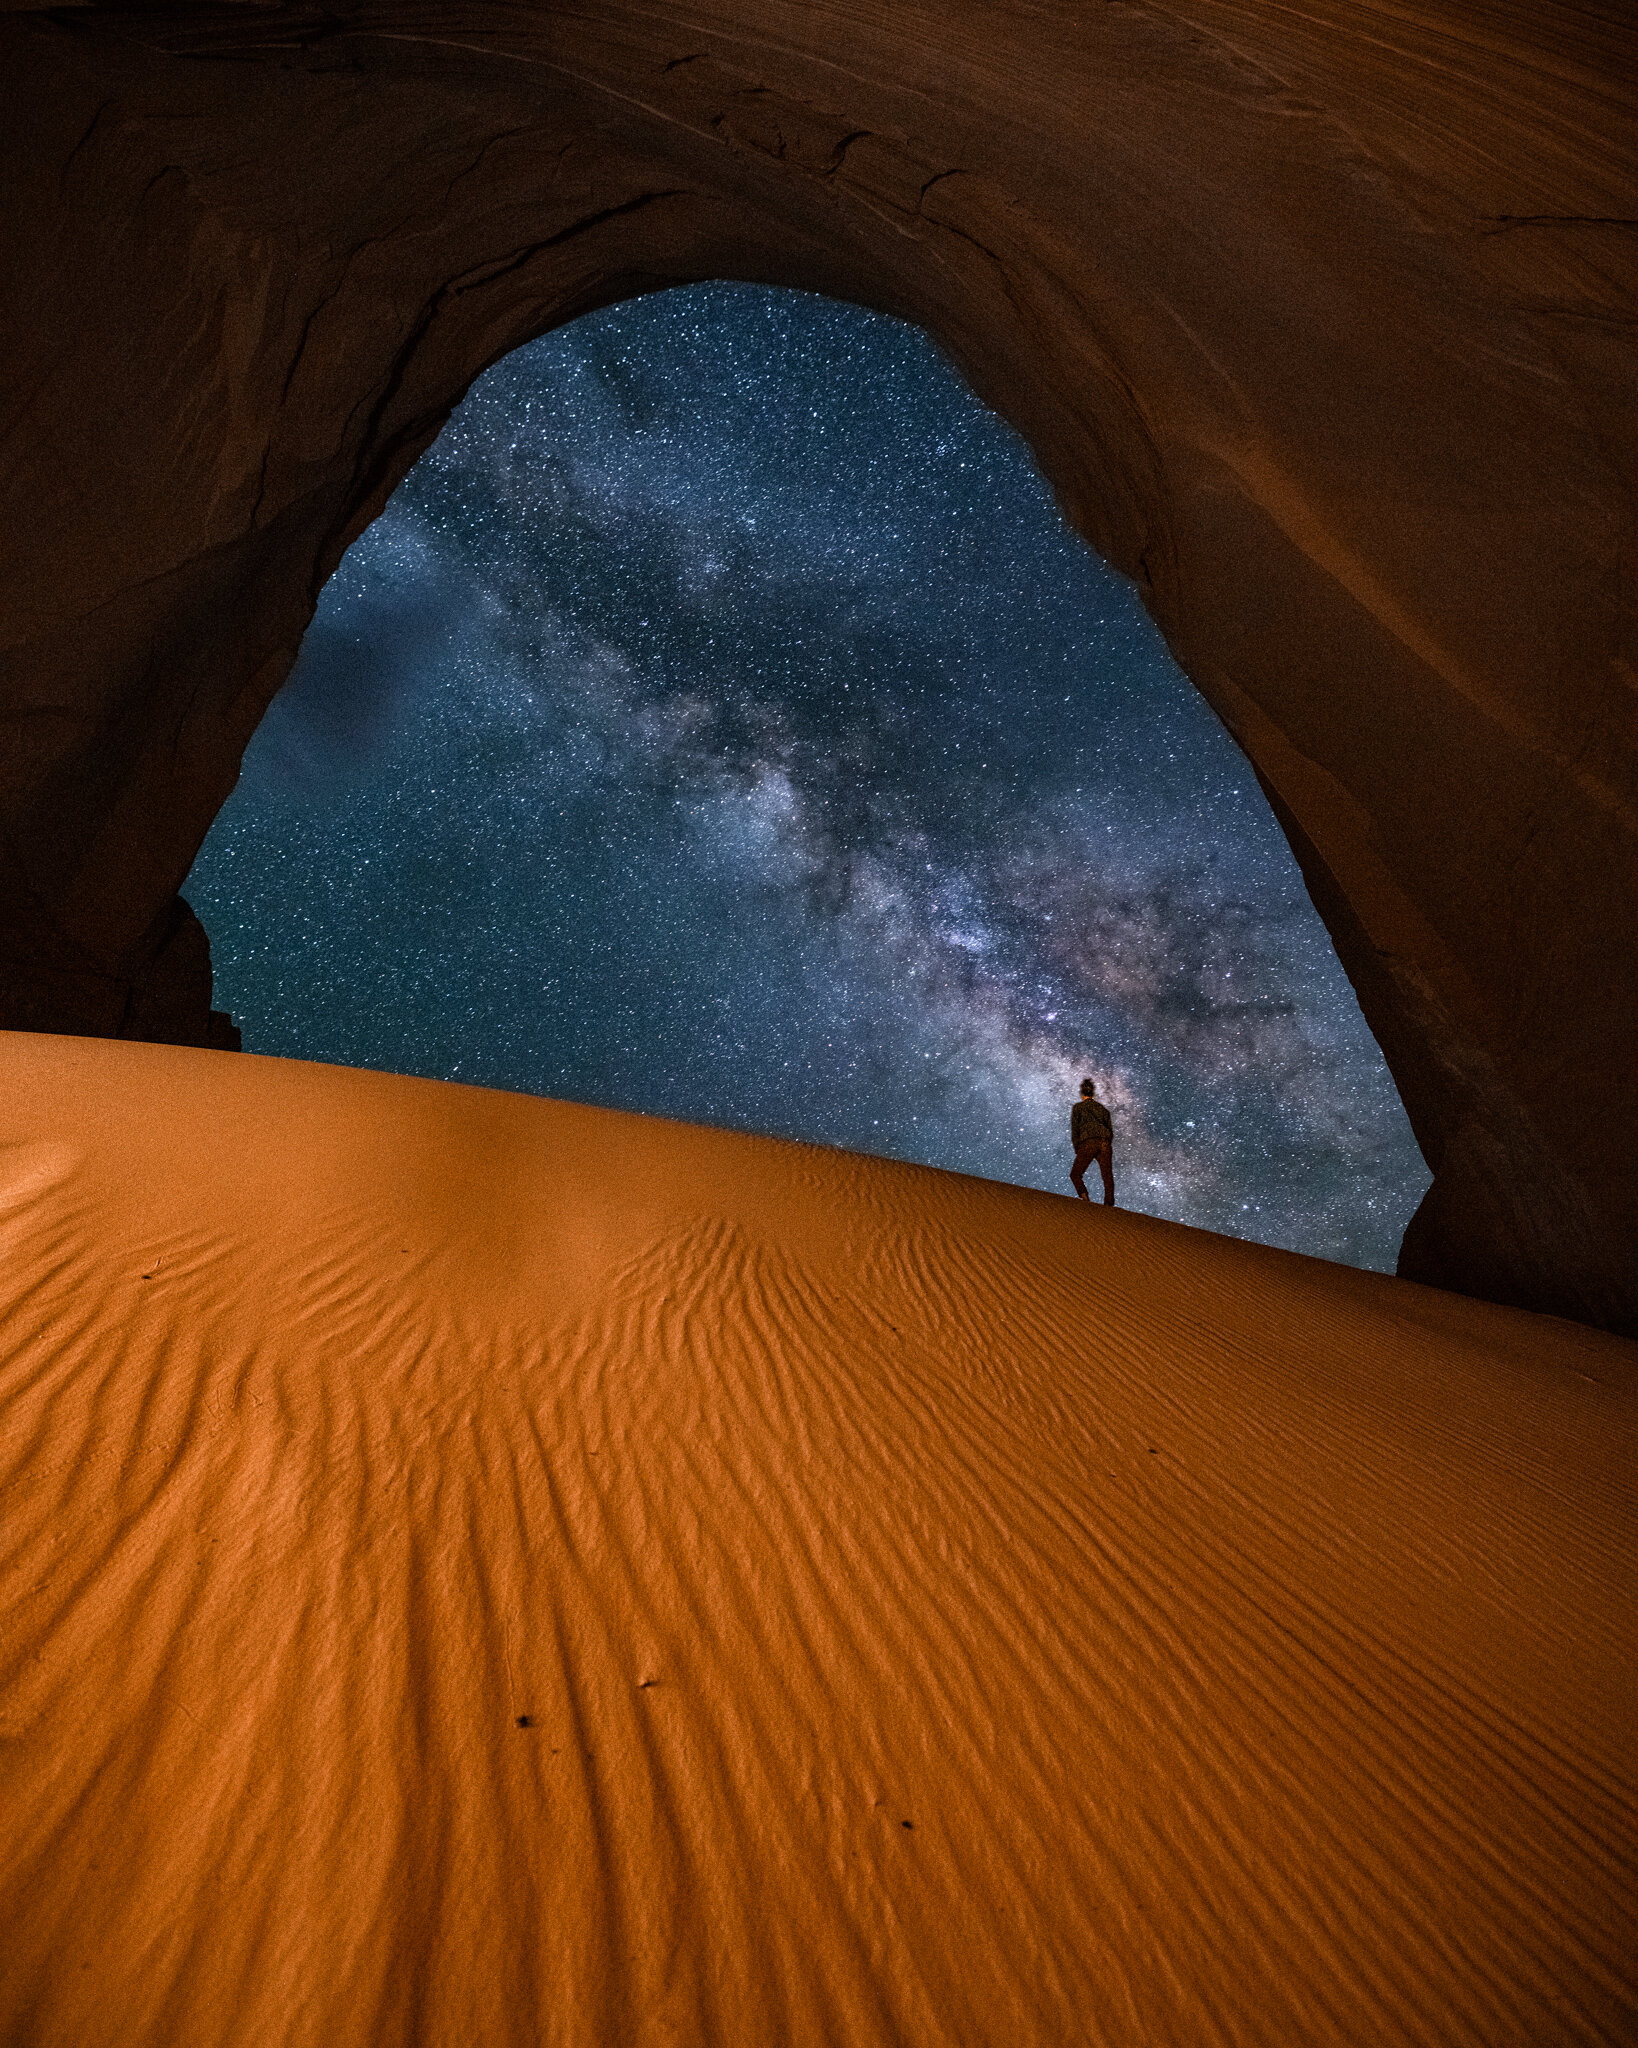
Photographing the same scene during the day and night can produce wildly different results. Undisclosed Location, Utah.
GEAR LIST
What you need to create some stunning nighttime imagery.
CAMERA
This is probably a given, but it wouldn’t be a complete list without it. A DSLR or mirrorless camera is best suited for nighttime photography, but you can use anything that can be put on a tripod and keep the shutter open for extended periods of time.
TRIPOD
Your best friend in the dark. Your camera will be working on taking a picture for a long time so keeping it still will help keep your images sharp.
EXTRA BATTERIES
This recommendation comes from experience. The last thing you want is to wake up at 3am and only be able to take a few shots before your camera dies. Bring a spare battery so you can get some proper sleep deprivation.
FLASHLIGHT
Fumbling around in the dark between photos isn’t ideal. bringing a flashlight or headlamp along to turn on when you’re not photographing saves time and can help keep you and your gear safe.
Photography Basics
Shooting photos in the dark requires a basic understanding of how a camera works. Below is a quick summary of the settings you’ll be using for a DSLR or mirrorless camera.
1. APERTURE
The aperture is the opening in the lens that lets light into the camera. When the aperture is small, it only lets a small amount of light into the camera. When the aperture is large, it lets more light in. Just like our eyes dilate to adjust to a dark room, the aperture on a camera lens widens to let more light in when it gets dark.
2. SHUTTER SPEED
Shutter speed is the length of time the shutter is open, exposing light onto the sensor that records the photo. It is how long the camera spends taking a picture. Most of the time shutter speed is only a fraction of a second, but in the dark it can take seconds or minutes for the camera to gather enough light for a picture. Shutter speed controls image brightness and motion blur.
3. ISO
ISO is a measure of how sensitive the camera’s electronic sensor is to light. Low ISO values produce dark, crisp images while raising the ISO produces brighter, grainier images. High ISO allows you to reduce your shutter speed drastically, but it may add unwanted texture to your photos.

Daniel Peter of Fotoblog Hamburg has created this free downloadable cheat sheet card for beginner photographers in easy-to-understand diagrams. You can download a copy of this cheat card from the Fotoblog Hamburg site here.
NIGHTTIME PHOTOGRAPHY:
A STEP-BY-STEP GUIDE
Step 1: Frame your picture
If you have a specific shot in mind, it helps to visit the location during the day to see what angles you want to shoot. This will save you valuable time later so you don’t have to figure it out in the dark. When you arrive on location, set up your tripod and camera in the spot you planned.

Pro Tip:
Milky way photos can be hard to plan because you won’t know exactly where the galactic center will be until you arrive on location. There are a number of apps that display all of the necessary information on the sun, moon, and milky way in a way that is easy to read and can even show them in augmented reality using your device’s camera. Photopills is the go-to app for many professionals and offers by far the most useful tools for the job.

The galactic center of the Milky Way galaxy over Palo Duro Canyon, Texas.
Step 2: Focus your camera lens
This is the most important step and the one most beginners struggle with. Manually focusing a DSLR lens in the dark takes some practice and can be hard to get on the first try. There are two main ways to focus your lens, depending on if your subject is close up or far away.
If your subject is close up…
If your subject is close up, you can use the autofocus feature on your camera. Shine a light on your subject while the camera auto focuses on it. Once focused, flip the little switch on the side of your lens to “M” and voila! You are ready to go.

Focusing on a nearby subject will often give you a background blur effect.
For far away objects…
If you are photographing far away objects (such as stars), follow these steps:
1. Turn on Live View to show what the camera sees on the screen. The screen will probably be dark but can still pick up far away sources of light.
2. Zoom in on a bright star, planet, or the moon using the spyglass icon as far as you can.
3. Switch your lens to “M” and turn the focusing ring on the lens until the distant star is as small and crisp as possible.
4. Exit Live view and you are all set!
Pro Tip:
If you decide to move your tripod to a new location after focusing your lens, you will need to re-focus your lens if you are photographing a subject nearby. However, if you are photographing something far away (Like mountains or stars), you will not need to worry about refocusing your lens.
Step 3: Adjust your settings
You can adjust your aperture, shutter speed, and ISO to suit what you are photographing. To start, put your camera in manual (M) mode. This gives you complete control over the camera settings without worry that the camera will try to correct itself for the dark conditions. Use the shutter control to set the shutter speed. In general, low-light photography requires long shutter speeds of fifteen to thirty seconds (15”-30”). For exposures longer than thirty seconds, you can use “bulb” mode to hold the camera shutter open until you tell it to stop. Aperture and ISO can vary widely based on what you are photographing, but in general you want to keep the ISO low for images with as little grain as possible.
For stars, a wide aperture and high ISO work best because keeping the shutter speed under 30 seconds is a priority. If you keep shutter open for more than 30 seconds you’ll start to see “star trails” in your images from the rotation of the earth. If you are shooting cityscapes or nearby objects, you can use a smaller aperture and longer shutter speed to get a more crisp image. Check out the settings posted in the panel below to get started with some tried-and-true ways to photograph different subjects.
Getting Started:
Try these settings for different nighttime pictures:
Stars/Milky Way: f/2.8, 25”, ISO 3200
Buildings/Cityscape: f/11, 15”, ISO 200
Fountains: f/18, 10” ISO 100
Roadways/light trails: f/13, 30”, ISO 200
Step 4: Get creative!
There generally is no wrong answer here. Try using different combinations of settings and see how they affect your image quality. Try new angles and settings, or use lights and glow sticks to add some extra flair to your photographs! The world is your oyster. Go wild and HAVE FUN!

Playing with a long shutter speed by playing a game of glow stick pictionary. 21”, f/2.8, ISO 3200

Steel wool in an abandoned mine shaft. 14”, f/22, ISO 2500

The galactic center rises over gigantic monument silhouettes in Valley of the Gods, Utah. 25”, f/2.8, ISO 12500

Achieving a “halo” effect by taping a flashlight to a drone. 7.5”, f/2.8, ISO 160